
Welcome[]
In this blog post, I aim to try to teach newcomers to Thumbnail creation just how to make thumbnails using the Paint.Net program. I hope anyone who aspires to create Thumbnails can learn something useful here by reading this.
Step 1 - Downloading & Installing Paint.Net[]
You're not going to get very far if you don't have Paint.Net installed on your computer. So let's start by downloading & installing it.
http://www.dotpdn.com/downloads/pdn.html
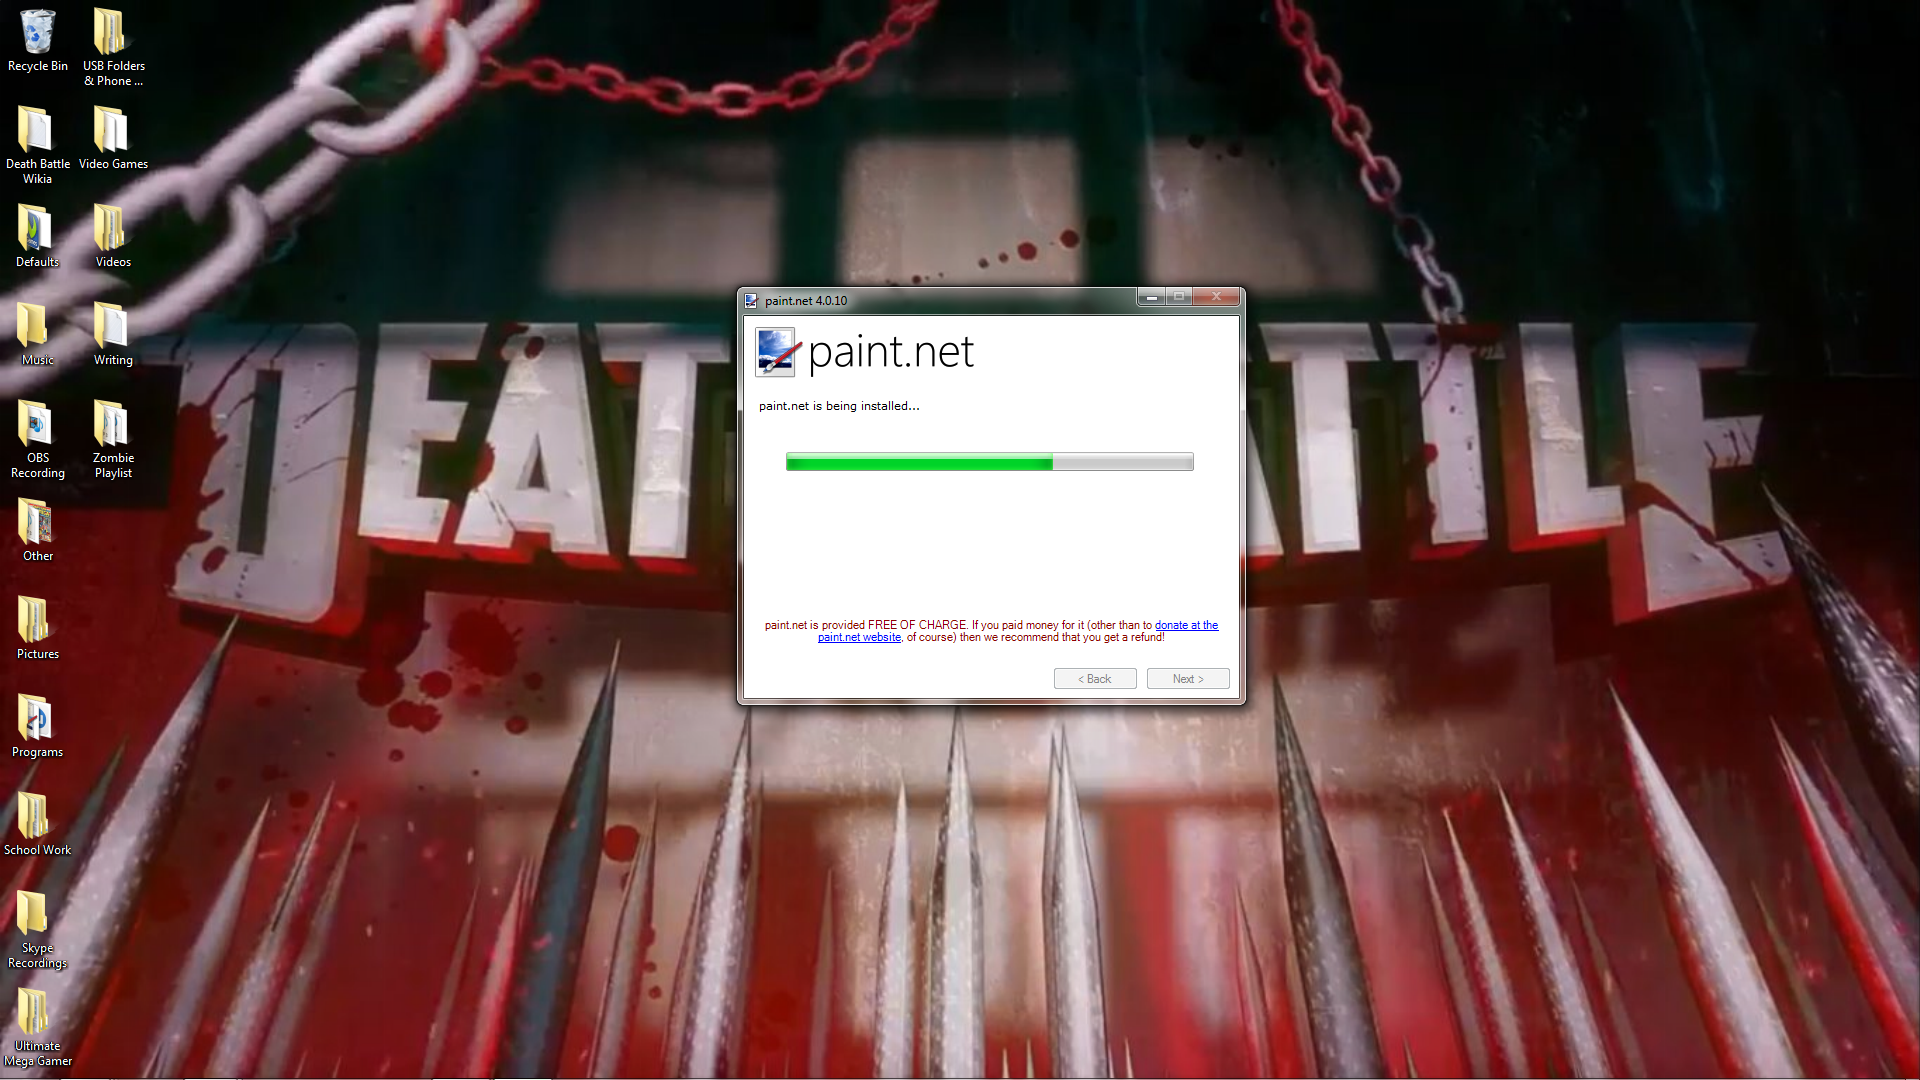
The above link will take you directly to the Paint.Net download page. Click the blue link on the right of the page that says "paint.net 4.0.10." If the numbers on the page don't match the numbers don't worry, that just means that the program has been updated since the writing of this blog post. After clicking the button Paint.Net should begin downloading. As of this blog posts writing Paint.Net is a 6.7MB download. Once the zipped file has downloaded extract it by right clicking on the file & clicking 'Extract All..." Once the file has been extracted you can delete the zipped file as you will no longer be needing it. Inside the file that you've just extracted will be the file that will install Paint.Net to your computer. Double-click the file. When your computer asks if you want to allow the program to make changes to your computer click yes. The next window that pops up will ask if you which installation method you prefer. If you'd like to change when Paint.Net is installed & change a few other unimportant things then click 'Custom' & then 'Next >.' If you're fine with just allowing Paint.Net to install normally then click 'Express' & then 'Next >'. For the sake of this tutorial, we'll be going with the Express option. Also on this window in the bottom-left corner is language selection, change this setting to your preferred language before you continue. Next will be the license agreement. If you care about if feel free to read it. Or don't, I don't really care either way. Click 'I Agree" & then click "Next >" to continue. Now the program will begin installing.
Paint.Net installing
At the end of the installation, you'll be given the option to open Paint.Net straight away. Go ahead & do that. & we can get straight into Thumbnail making.
SIDE NOTE: I'd recommend downloading this plugin for Paint.Net. It will allow you to align pictures in Paint.Net which is not something that comes naturally with the program. It's not overly useful when it comes to making thumbnails but it it's mega useful when it comes to a lot of other things you may make in Paint.Net. To download the plugin click the icon of a box with a CD in front of it.
Step 2 - Acquiring Your Resources[]
Now that you've downloaded Paint.Net I'm sure you're eager to start making some Thumbnails. But first, you're going to need some things to make a Thumbnail from.

.png)
The current standard Death Battle template
Namely a template & some pictures of your characters. If you don't already have a template the here's the one I'll be using for this tutorial. Save that picture. After you've done that it's time to decide what thumbnail you want to make, for this tutorial I'll be making a thumbnail of The Incredible Hulk vs Doomsday. If you happen to have pictures of your characters lying around on your computer then feel free to use them. But if you don't your best bet 9 times out of 10 will be Google Images. Type in the name of your character & have a look at the results. You may see a picture & think "I want to use that one." But there's a lot of things the picture needs to be in order for it to work in a thumbnail.

You have a lot of options but you still need to chose wisely.
As you can see there are all different types of pictures. You can see there are some with white backgrounds with nothing in them, there's some with colored backgrounds & there are some with scenery in the background. If you chose a picture with a background for one character it's wise to do the same for the other character. Same goes if you chose one with a white background. Here's something you should keep in mind. The white pictures aren't always the best pick. some of them have plain white backgrounds & some of them have completely transparent backgrounds. This means that the picture contains nothing but the character & nothing else. These are always favorable to pictures with plain white backgrounds. You could, of course, attempt to remove the white background yourself using the Magic Wand tool in Paint.Net but this most often will leave an ugly white outline around your character. There is a way to remove all of the pictures with solid white backgrounds from your search altogether. At the top of the Google Images page click 'Search Tools,' then click 'Color' & then click 'Transparent.'


That is an ugly as sin Hulk.
You will now see that all of the pictures have backgrounds that aren't solid white. If you're using the Firefox browser then it should look exactly like the picture to the right. It may look different if you're using a different browser but the pictures are the exact same in any browser.
Another thing to look out for is the pixel size of the pictures you want to use. If the picture is too small, you will have to make it bigger in Paint.Net & often this will make the picture blurry. If the picture is too big then you have to reduce the size & this can make a picture pixely. Often times, however, the picture has to be extremely big for this to happen. You're more likely to have a picture end up being blurry then you are having a picture become pixely. You can see the size in the information on the right of the picture in Google Images. In the case of the Hulk picture to the right the pixel size is 931 x 859. This is actually a really good size for a thumbnail. It'll take some time but you'll eventually figure out for yourself what is too big & what is too small.
Once you've chosen your two pictures save them to you computer & then return to Paint.Net & then we can begin to actually make the thumbnail.
Step 3 - Making a Thumbnail[]


To begin making our thumbnail we first need to open up the three images we saved to our computer to make the thumbnail. To do this, in the top-left corner of Paint.Net click the icon of a file with an arrow coming out of it. Alternatively, you can click the drop down box that says 'File' & then click on the button that says 'Open...' Now find the template & the two pictures of you characters. By the time everything is open Paint.Net should look like this:
One thing you'll need to know about Paint.Net is that you CANNOT right-click. You need to know the buttons you need to press to make things happen.Copy: Ctrl+C. Paste: Ctrl+V. Cut: Ctrl+X. Undo: Ctrl+Z. Redo: Ctrl+Y.
This is crucial information needed to create thumbnails in Paint.Net. Now that you know this we can begin making the thumbnail. Paint.Net works in layers. Every picture you use needs to be on a separate layer. Up the top of Paint.Net click on the Death Battle template. This is where all the magic will happen. Find the window on screen that says 'Layers.' Down the bottom of this window will be a bunch of icons but right at this moment the only one you're interested in is the first one. Click it three times. You may be wondering why we're opening three new layers when we only have two characters. The third layer that we opened is where our Background will go. But we'll dig more into that later. Right now, there should be four layers overall, three with nothing on it & one with the Death Battle template on it. Right now the Death Battle template should be at the bottom of the list. What the means is that everything on the other layers, which at this point is nothing, will be on top of the template. This isn't what we want so click on the layer with the template on it & drag it to the top of all the layers. This will place it on top of everything else in the picture, which again is nothing right now. You may notice that the layer with the template on it currently says 'Background.' This can be ignored as it is nothing more than a label & doesn't affect anything. From here we need to switch to the picture with one of our characters & copy it using the button command from earlier. Now we switch back to the template, select the second layer of the picture & paste the picture. You can now drag your picture, re-size it & rotate it. Something that is crucial to know is that in order to keep the picture from warping when re-sizing it you need to hold down the 'Shift" key. By this point your screen should look something like this:


If this is roughly what you're screen looks like at this point then well done, you're well on your way. You may notice that part of you character may extend onto the other side of the thumbnail. This isn't something we want but it's an easy fix. Click on the 'Rectangle Select" icon on the tools window, it's the very first Icon. From here click & hold above the center of the picture & drag downwards to underneath the picture, don't let go of the left mouse button yet though. Now, while still holding the left mouse button drag to the right until all of the right half of the picture is covered in a blue square. Now click the 'Delete' key on your key bored & now everything that crosses over into the opponents side will have been deleted. Next we need to copy & past our second character into the third layer of the thumbnail. So change to the third layer of the picture. Now switch to the picture of the second character & copy. Now switch back to the thumbnail & paste. Now you can position your character the way you want. If part of the character passes over into the left side of the thumbnail then delete it just like you did the first time. Only now going left instead of right. By now, both of your characters should be positioned & ready for a background. Overall your screen should look like this:


Step 4 - Backgrounds[]
To get ready to do your background switch to the fourth layer on the thumbnail. You can do backgrounds in three different ways. A solid color, a gradient color or a picture from Google Images. To do a solid color select the 'Paint Bucket' in the tools window. Click on the picture & everything behind the characters should turn one solid color. To choose your color find the 'Colors' window. It'll have a giant circle of colors & a tiny circle in the middle. Click on the tiny circle & start moving it around. You start to notice the background changing color. Mess around with this until you find a color you like. To create a gradient click on the button in the 'Tools' window that looks like a reflective blue box. From here click & hold on the thumbnail & begin to drag your mouse around. You'll notice two moving colors in the background. Up the top, you'll also see a bunch of black & white icons. These change the type of gradient. Holding the 'Shift' key while dragging the gradient around will also snap the gradient into a position so you could have an even gradient instead of having a gradient that is slightly askew. To choose the colors of the gradient go to the 'Colors' window & choose your fist color on the wheel. To choose your second color, click on the white box to the left of the wheel. The white box will be covered slightly by a box with the first color. Once you've clicked the white box, begin messing around in the color wheel until you find a combination you like. Take your time with the 'Gradient' tool so you can see a lot of options & decide which one is best for your thumbnail. Finally, we have the image background. To create this background search for an image on Google Images that you'd like to use for your background. Save the picture, then open it in Paint.Net. Copy & paste the picture into the last layer of the thumbnail. Re-size & move the picture to your liking & you're done.
Here's what you should have by the end:


Step 5 - Saving Your Thumbnail[]
At this point, you're pretty much done! Congrats! Now all you need to do is save the thumbnail. To do this click on the 'Save' icon. Name your file. Make sure you change the file type at the bottom from .pdn to whatever your preferred file type is. Congratulations, you've just made a thumbnail!


Finished product!
Thanks for Reading[]
Thanks for reading this guide. I hope I've managed to help. Feel free to leave a comment with any questions you have. Feedback, as always, is appreciated. Also, if you make anything using this trutorial, show me! I'd love to see what you make!